Epoxy Garage Floors: Top Benefits & Tips for 2024
Introduction
Transforming your garage floor with epoxy garage floors not only revitalizes the space but also brings a host of benefits. For those seeking to enhance the durability and aesthetics of their garage, epoxy is a go-to solution.
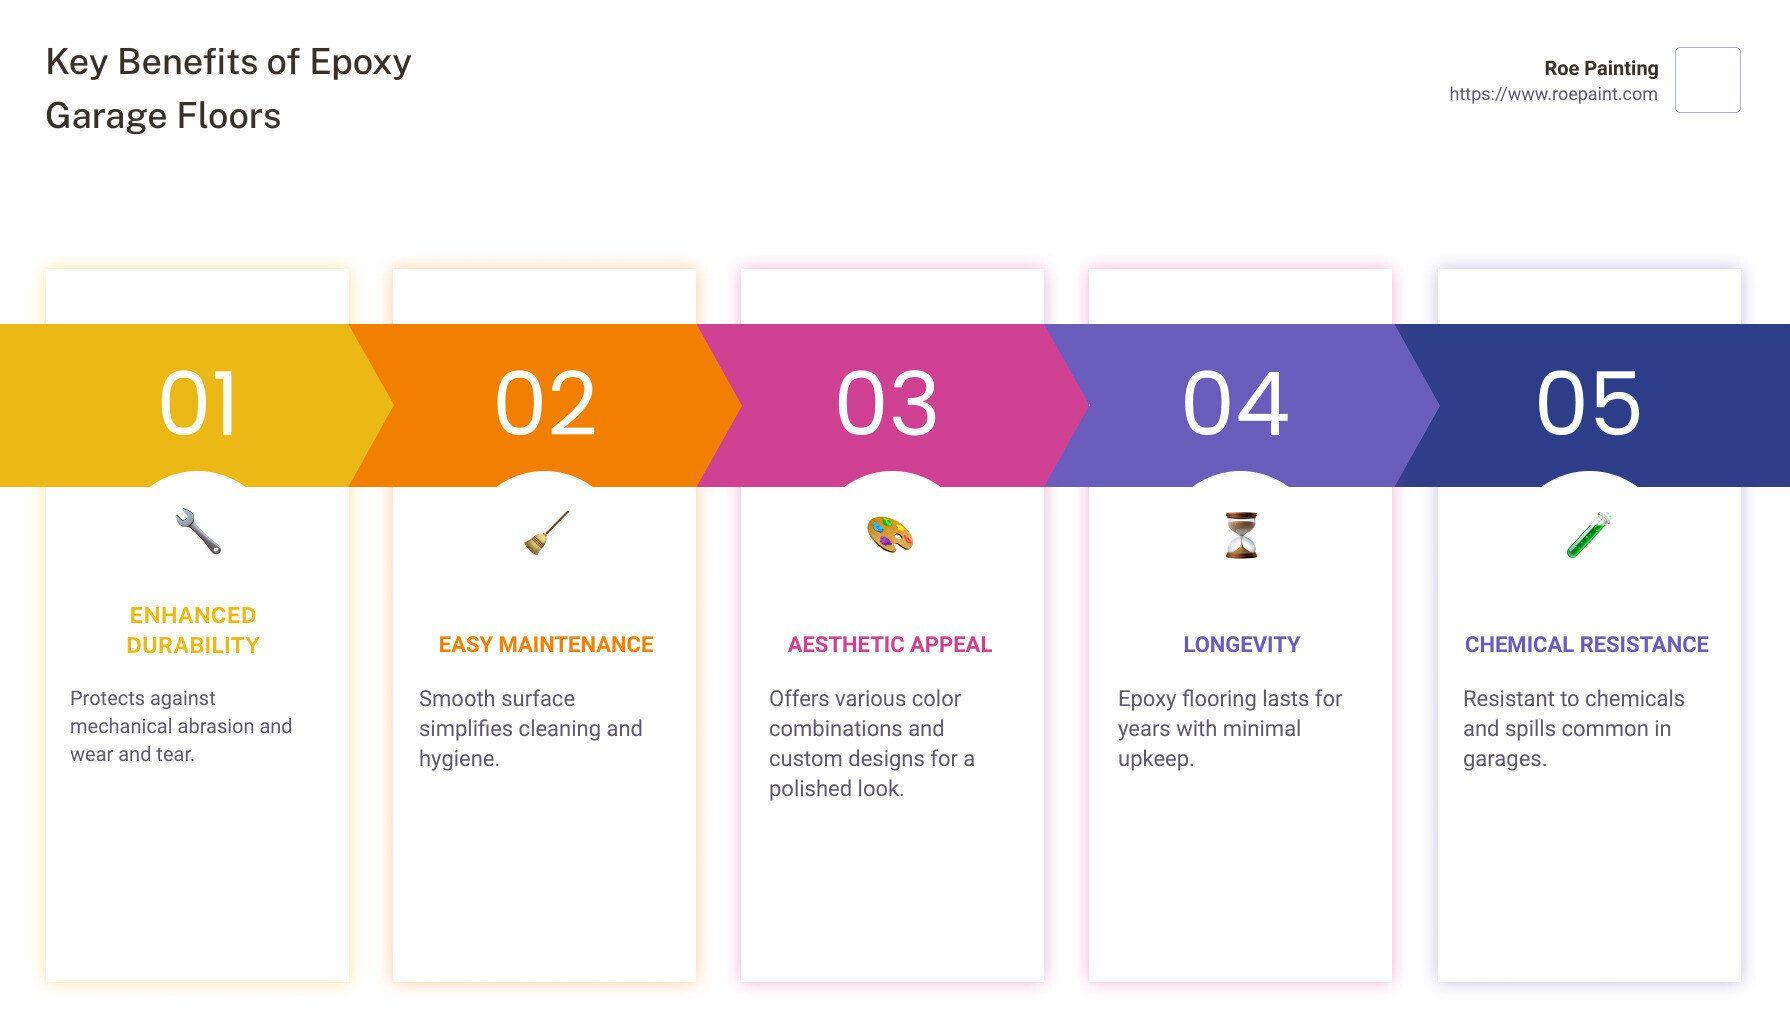
Key Benefits of Epoxy Garage Floors:
– Enhanced Durability: Protects against mechanical abrasion and wear and tear.
– Easy Maintenance: Smooth surface simplifies cleaning and hygiene.
– Aesthetic Appeal: Offers various color combinations and custom designs for a polished look.
By choosing epoxy, you’re ensuring your garage floor isn’t just more resilient, but also cleaner and more visually appealing.

Understanding Epoxy Garage Floors
What is Epoxy?
Epoxy is a type of resin that, when mixed with a hardener, forms a strong, durable coating. This mixture creates a chemical reaction that results in a tough, high-gloss finish, ideal for garage floors.
- Components: The two main components are the resin and the hardener. When combined, they cure into a solid, durable surface.
- Chemistry: The chemical reaction between the resin and hardener is called polymerization. This process creates a dense, cross-linked structure that is both strong and resistant to damage.
Why Choose Epoxy?
Epoxy garage floors offer a range of benefits that make them a popular choice for homeowners and businesses alike.
Durability
Epoxy coatings are known for their durability. They can withstand heavy foot traffic, vehicle wear, and mechanical abrasion. This makes them perfect for high-traffic areas like garages.
- Protection: Epoxy acts as a shield, protecting the concrete underneath from cracks, stains, and wear.
- Longevity: When properly applied, an epoxy floor can last for many years without needing significant repairs.
Aesthetics
An epoxy floor can transform the look of your garage, making it not just functional but also visually appealing.
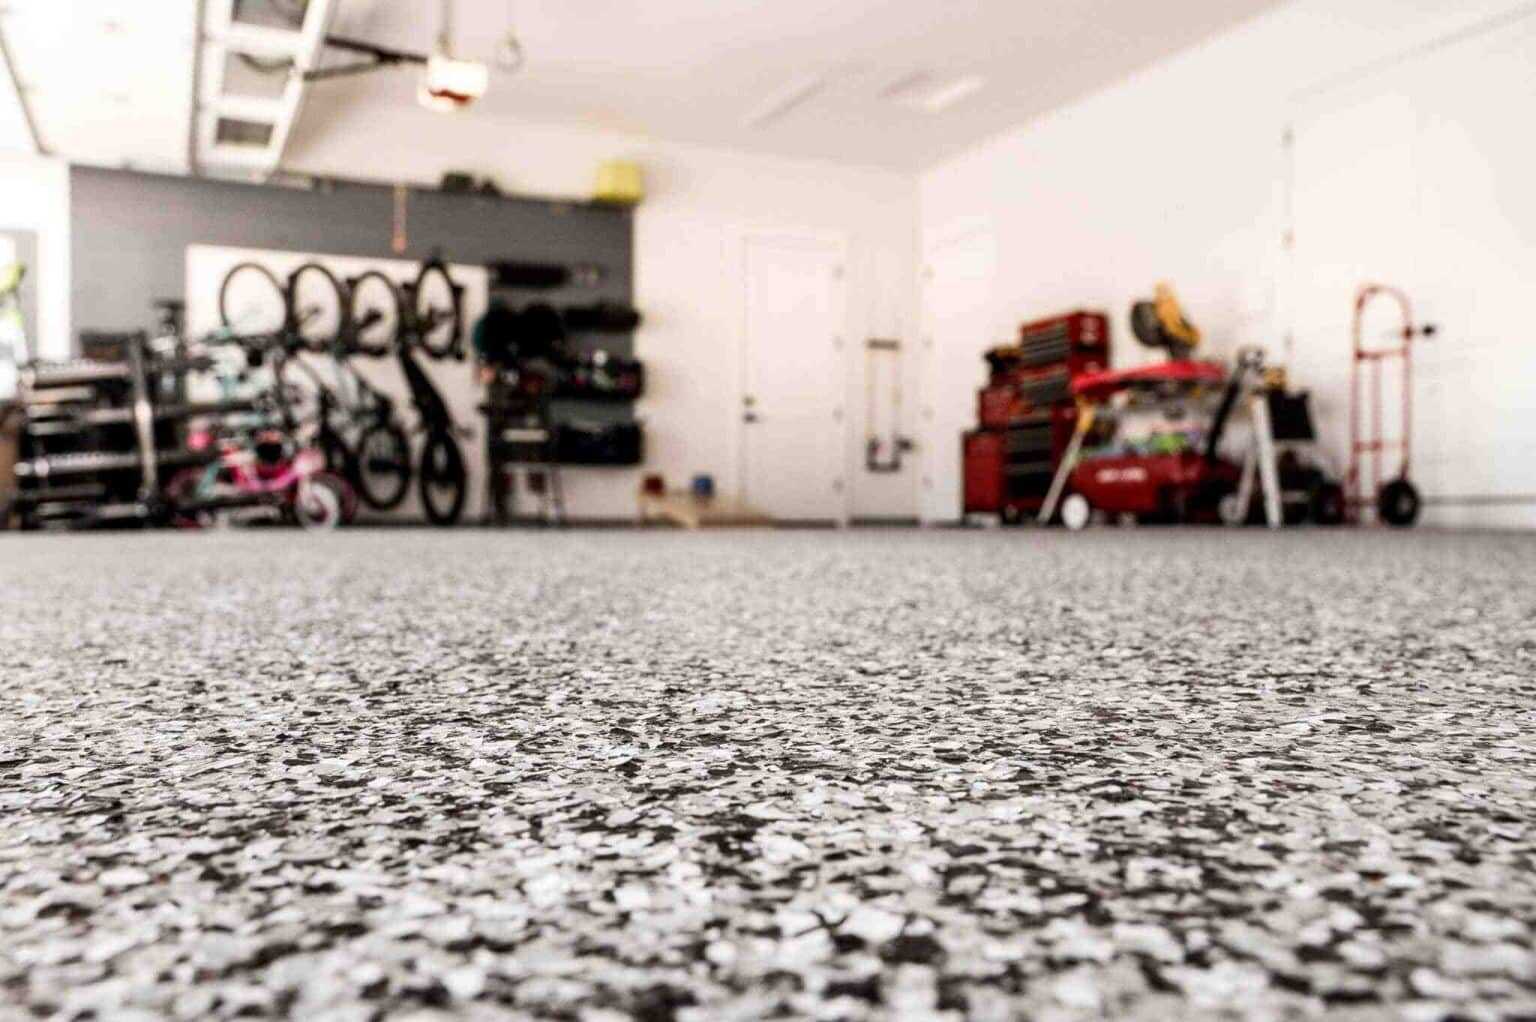
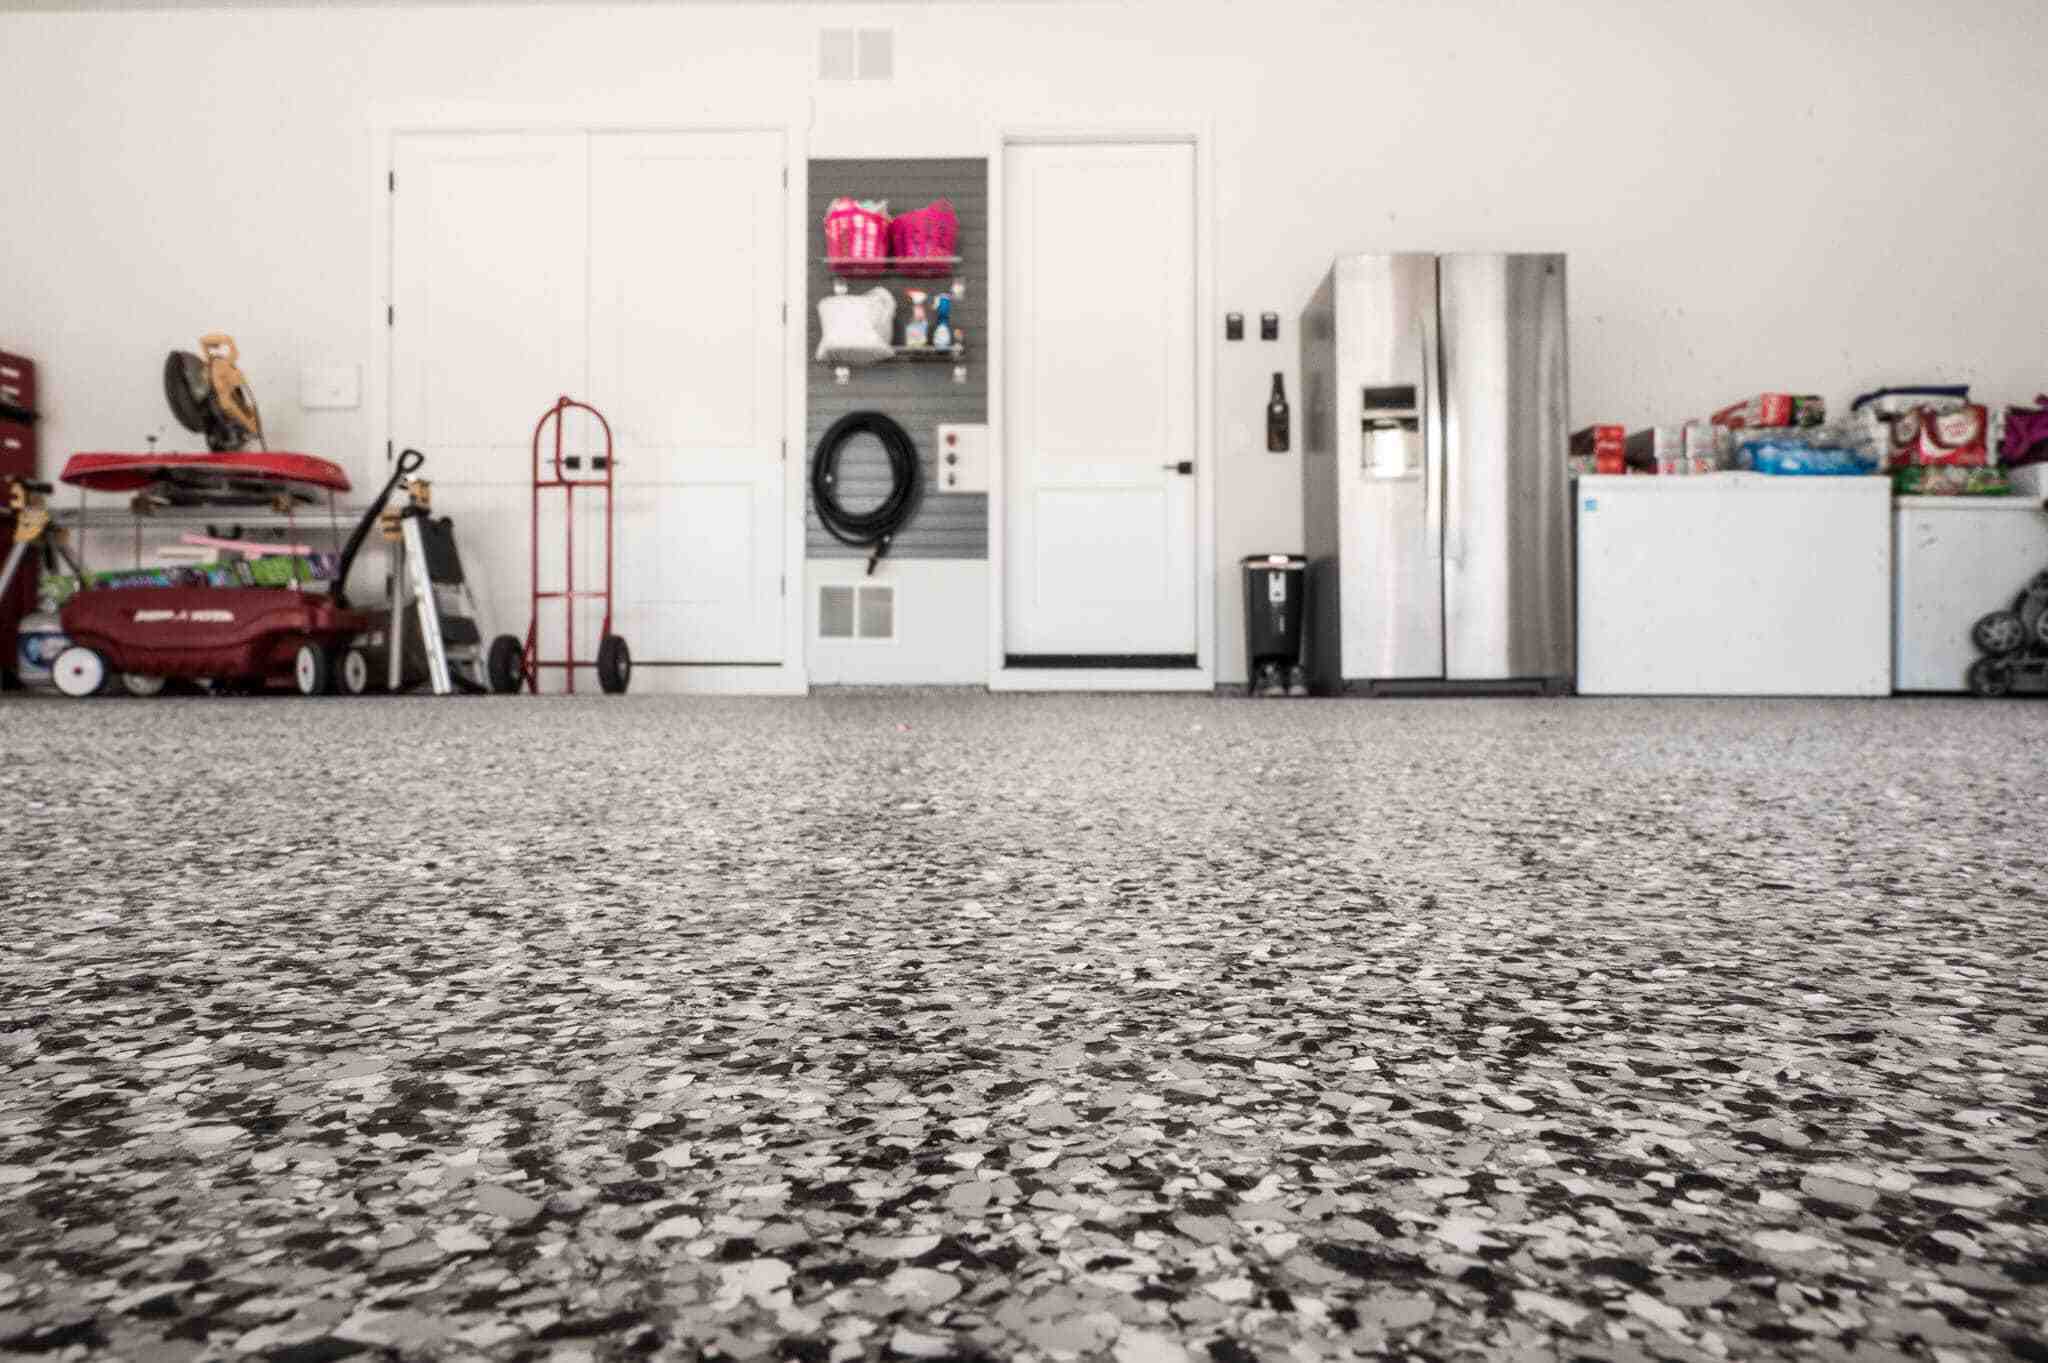
- Appearance: Epoxy floors come in various colors and finishes, allowing for customization to match your style. Options include solid colors, metallic finishes, and flake designs.
- Smooth Surface: The high-gloss finish of an epoxy floor adds a sleek, professional look to any garage.
Example: One of our clients opted for a metallic epoxy finish, transforming their dull garage into a stylish, modern workspace. The swirling patterns of the metallic pigments created a unique, eye-catching effect that impressed everyone who saw it.

Choosing epoxy for your garage floor means opting for a solution that is as practical as it is beautiful. It’s a choice that offers both protection and aesthetic appeal, ensuring your garage floor remains in top condition for years to come.
Preparing Your Garage Floor for Epoxy
Importance of Surface Preparation
Surface preparation is the first and most crucial step when applying epoxy to your garage floor. A well-prepared surface ensures the epoxy adheres properly and lasts longer. Poor preparation can lead to peeling, bubbling, and other issues down the road.
Concrete Condition: Before you start, assess the condition of your concrete floor. Look for cracks, pits, or any signs of damage. Repair these areas using a concrete patch product. A smooth, even surface is essential for a flawless epoxy finish.
Moisture Test: Moisture can ruin an epoxy application. Conduct a simple moisture test by taping a plastic sheet to the floor and leaving it for 24 hours. If you see condensation under the plastic, your floor needs more drying time or a moisture barrier.
Steps to Prepare Your Floor
Cleaning
- Sweeping: Begin by sweeping the entire floor to remove loose dirt and debris.
- Vacuuming: Follow up with a vacuum to pick up finer particles. This step is crucial for a clean surface.
- Degreasing: Use a degreaser to remove oil and grease stains. Scrubbing these areas thoroughly ensures better epoxy adhesion.
Etching
Acid Etching: Acid etching roughens the surface to help the epoxy bond better. Mix two parts muriatic acid to one part water and apply it using a pump sprayer. Wear safety gear and follow all safety guidelines. After etching, neutralize the acid with an ammonia solution, then rinse and let the floor dry completely.
Priming
Priming: Applying a primer is an optional but recommended step. A primer enhances adhesion and can extend the coverage of your epoxy. Some primers, like the No Prep Instant Primer, can be applied without grinding or etching, saving you prep time.
By following these steps—cleaning, etching, and priming—you set the stage for a successful epoxy application that will look great and last for years.
Applying Epoxy Garage Floors
Tools and Techniques
When applying epoxy garage floors, having the right tools and techniques is essential for a smooth, durable finish. Here’s what you’ll need:
- Squeegee: A calibrated squeegee ensures the epoxy is spread evenly and at the correct thickness. This tool is crucial for avoiding thin spots that can lead to premature wear.
- Rollers and Brushes: Use a roller with an extension handle for large areas and a brush for edges and corners. Rollers help achieve a consistent coat, while brushes handle the detail work.
- Mixing Tools: Properly mixing the epoxy is vital. Use a drill with a mixing paddle to combine the resin and hardener thoroughly.
The Curing Process
The curing process is where your epoxy floor gains its strength and durability. Here’s a breakdown of what to consider:
- Temperature: Ideal temperatures for epoxy application range between 60°F and 90°F. Too cold, and the epoxy won’t cure properly. Too hot, and it may cure too quickly, leading to an uneven finish.
- Humidity: High humidity can affect curing times and the final appearance. Aim for humidity levels below 85% to ensure a smooth, bubble-free finish.
- Time Frame: After applying the epoxy, allow it to cure for at least 24 hours before light foot traffic and 72 hours before vehicle traffic. Complete curing can take up to 7 days, depending on environmental conditions.
By using the right tools and understanding the curing process, you can achieve a professional-quality epoxy garage floor that stands the test of time.
Next, let’s dive into maintaining your epoxy garage floor to keep it looking new for years to come.
Maintaining Your Epoxy Garage Floor
Keeping your epoxy garage floor in top condition requires regular maintenance and attention to detail. Here are some straightforward tips to ensure your floor stays beautiful and durable for years.
Routine Maintenance Tips
1. Regular Cleaning:
Epoxy floors are easy to clean. Sweep the floor regularly with a soft bristle broom to remove dirt and debris. For mopping, use a microfiber mop with warm water and a mild cleaner. Avoid harsh chemicals, as they can dull the epoxy’s shine.
2. Spot Cleaning:
For spills and stains, act quickly. Use a soft cloth or sponge with warm water and mild detergent. For tougher stains, a gentle scrub with a soft brush can help.
3. Dealing with Stains:
Oil stains can be a common issue in garages. Use a cleaner specifically designed for oil stains or a mixture of water and ammonia. Apply the solution, let it sit for a few minutes, then scrub and rinse thoroughly.
Handling Wear and Tear
1. Minor Repairs:
Small scratches and chips can occur over time. For minor damage, you can use an epoxy repair kit. Clean the area, apply the repair solution, and smooth it out. Allow it to cure as per the instructions.
2. Scratches and Peeling:
If you notice peeling or deep scratches, it might be time for a touch-up. Lightly sand the damaged area, clean it thoroughly, and apply a fresh coat of epoxy. Make sure to follow the curing process for best results.
3. Re-coating:
Over time, your epoxy floor might lose its luster. Re-coating can bring back the shine and add an extra layer of protection. Clean the floor, lightly sand it, and apply a new coat of epoxy. Allow it to cure fully before use.
Long-term Care
1. Preventative Measures:
Use mats under heavy machinery and in high-traffic areas to prevent scratches and reduce wear. For activities like welding, place welding mats to avoid accidental burns or sparks that could damage the flooring.
2. Non-slip Options:
Even though epoxy flooring is more slip-resistant than many other surfaces, adding extra safety measures in areas prone to moisture can be beneficial. Integrating non-slip additives or choosing a textured epoxy finish can greatly enhance grip.
3. Pressure Washing:
In industrial environments or areas with drainage, light pressure washing can be employed for deep cleaning. Ensure the water pressure is not too high to avoid damaging the epoxy surface.
By following these simple maintenance steps, your epoxy garage floor will continue to look spectacular and function effectively, handling everything from daily foot traffic to heavy-duty use with ease. This routine ensures that the beauty and durability of your flooring investment are preserved long-term, making it a smart choice for both aesthetic appeal and long-lasting performance.
Next, let’s address some frequently asked questions about epoxy garage floors to help you make informed decisions.
Frequently Asked Questions about Epoxy Garage Floors
How Long Does Epoxy Last?
Epoxy garage floors are known for their durability and longevity. With proper installation and maintenance, they can last between 10 to 20 years. The lifespan depends on factors like foot traffic, vehicle wear, and the type of activities conducted in the garage. Homes with light traffic might see their epoxy floors last even longer.
Is Epoxy Slippery When Wet?
Safety is a common concern. However, most epoxy garage floor kits include nonslip additives. These are mixed into the final clear coat to provide a slip-resistant finish, ensuring that your floor remains safe even when wet.
How Much Does It Cost to Epoxy a Garage Floor?
The cost of installing an epoxy garage floor can vary widely. Here are the main factors:
- Square Footage: Larger garages require more materials and labor.
- Material Costs: High-quality, 100% solids epoxies tend to be more expensive but offer better durability.
- Professional Installation: Hiring professionals adds to the cost but ensures a flawless finish.
On average, professional installation can range from $3 to $12 per square foot. For DIY enthusiasts, the cost could be lower, but the quality and longevity might not match professional work.
Epoxy vs. Polyurea
When choosing between epoxy and polyurea for your garage floor, consider the following:
- Durability: Both are durable, but polyurea offers superior scratch resistance.
- Application: Polyurea cures faster, making it more challenging to apply.
- Cost: Polyurea tends to be more expensive due to its advanced properties.
Epoxy is generally easier to work with and provides excellent long-term performance, making it a popular choice for many homeowners.
By understanding these key aspects, you can make an informed decision about whether an epoxy garage floor is the right choice for you. Next, let’s conclude by summarizing the benefits of investing in a high-quality epoxy floor and how Roe Painting can help you achieve the best results.
Conclusion
Investing in epoxy garage floors is a smart decision for several reasons. Not only do they provide a durable and long-lasting surface, but they also enhance the aesthetic appeal of your garage. The benefits extend beyond just looks; epoxy floors are resistant to stains, scratches, and chemicals, making them easy to clean and maintain.
At Roe Painting, we pride ourselves on delivering top-notch epoxy flooring solutions that stand the test of time. Our skilled workforce is continually trained in the latest techniques to ensure your floor is installed to the highest standards. By choosing us, you’re not just getting a service provider; you’re partnering with a company deeply embedded in the Boise community.
We actively participate in local initiatives like “Paint the Town” and “Shop with a Cop,” reflecting our commitment to enriching the lives of our fellow residents. When you invest in our epoxy flooring services, you’re also supporting a business that cares about the community.
Ready to transform your garage? Discover more about our concrete coating solutions and how we can help you achieve stunning, durable results by visiting our concrete coatings page.

Thank you for considering Roe Painting for your epoxy flooring needs. We look forward to bringing our expertise and community-driven approach to your next project.
Jud has been with Roe Painting since 2017 and in the painting industry as a whole since 1999. He has a passion for estimating and selling a wide variety of painting projects. As the son of two teachers, he loves to educate his customers on what they should expect in a proper paint job. As VP of Sales, he enjoys developing estimating programs and teaching and coaching his sales team to deliver a confident contracting experience for every customer.
Topics: